

Farming Depth and Drop Value: Is Going Deeper Actually Worth It?
Each deeper map only adds about 0.01 to the drop tier. What really moves the needle is clear speed, fusing constantly, and feeding the right fragments.

Farming is the whole game. So “which map should I farm?” looks like the first thing to figure out.
But Spanish creator Once94 gave one measured answer in GUIA DE COMO EMPEZAR EN WAR OF GENESIS: IDLE LOOT. It shrinks the question: each deeper map only adds about 0.01 to your drop tier.
What does that mean? You can push from Ancient Ruins 1-1 all the way to Ice Castle 4-10, and the tier advantage you build up may be smaller than a few extra combines.
Three things actually matter: clearing fast, fusing often, and feeding fragments to the right upgrade.
Deeper maps only add 0.01 tier
He is specific about it. The drop tier chance does rise as you go deeper, but only by about 0.01 per map.
Note what that is and is not. It is not “more drops.” It is “slightly higher grade of drop.”
So there is one rule for where to farm: farm your newest unlocked map, or the one right before the map that stops you.
He stopped on Nightmare 1-3 at the time. Not because it paid best, but because he cleared it fastest. He read it off the in-game chat under System: one run took him 1 minute 39 seconds.
You can do the same. Check the run time in chat, then compare it against the drops. If a map takes twice as long for 0.01 more tier, it is not worth it.
One warning here: the developer has never published the drop formula. That 0.01 is his own measurement, not a rule. A patch can invalidate it.
Who pushes, who farms
This is not a “which class is strongest” question. It is a division of labour.
- Warrior (tank) takes hits, so it pushes stages, and it holds up in PvP.
- Archer clears roughly 1 minute faster per map, so it does the long farming.
His own setup: push on the tank, switch to the archer to farm. By his estimate the archer saves about a minute per map. Over a long session, that shows up in XP and gold.
The archer skill order is worth copying:
- Stone Arrow. The panel reads 528% damage and +84% attack for 10 seconds.
- Attack speed skill. +24% attack speed for 10 seconds.
- Poison skill. +3 poison damage for 10 seconds.
- Finisher. Fire it once the first three buffs are up.
One detail that is easy to miss: evasion on an archer is not only survival. A successful dodge adds “8% increased damage taken on the target,” so stacking evasion also stacks damage.
Every percentage above is a skill-panel reading from that time. The developer has not published a skill stat table, so trust your own client.
Fuse or dismantle? Fuse, every time
This one is counterintuitive. Most people dismantle what they cannot use. He says do the opposite: fuse everything.
Three reasons:
- Fusing pays gold and gives you an item.
- Every fuse pushes the success rate up.
- Dismantling only returns fragments and no new gear.
He tested it live. Six items in, the fuse paid slightly more gold than dismantling them one at a time, and it moved his tier up as well.
Dismantling is not useless though. Fragments are a separate progression line, and what they buy is concrete:
| Fragment tier | What feeding them gives |
|---|---|
| Tier 4 | Gold gain |
| Tier 5 | Equipment drop rate |
| Tier 6 | Final damage |
Beyond those three, fragments also go into experience gain and natural recovery.
So do not treat it as a binary. The order is: fuse first to push tiers, then dismantle the high-tier leftovers into fragments.
Full combine and dismantle rules live on the synthesis and dismantle page.
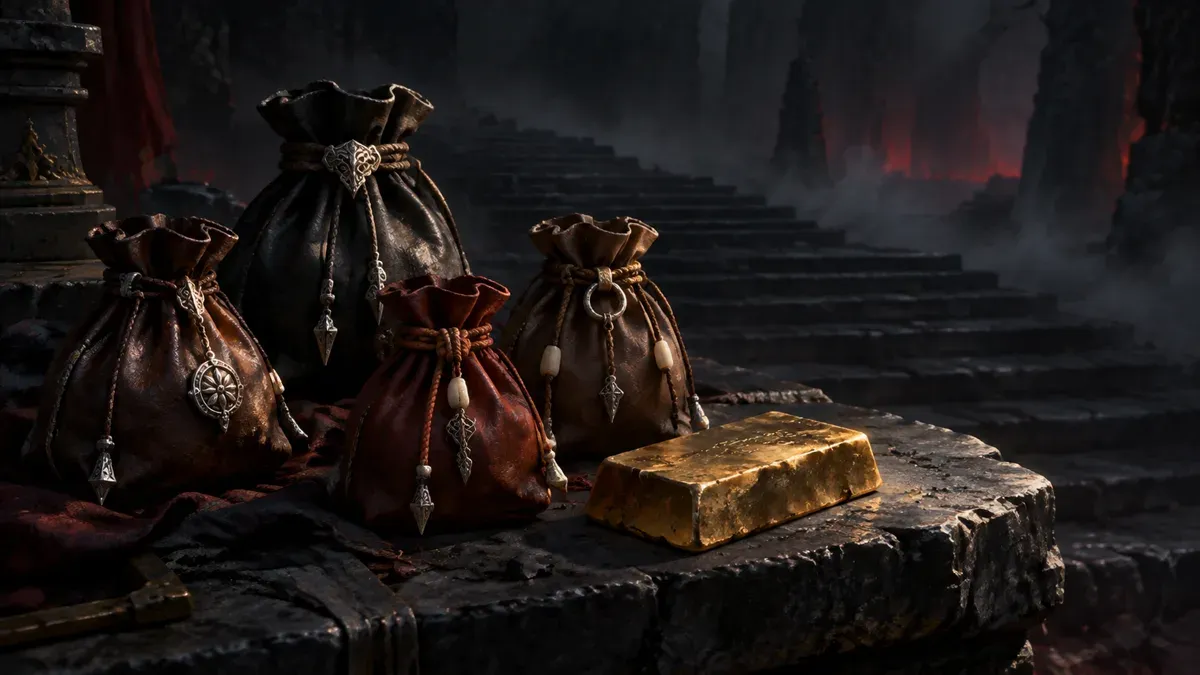
Gold bars and diamond pouches drop — you cannot craft them
These are the most valuable drops in the game, and the easiest to misunderstand.
The in-game text reads as if you can “combine 5 diamonds at the blacksmith” into a diamond pouch. He flat out calls that a translation error. His point: diamond pouches cannot be crafted. Like gold bars, they drop from enemies.
He adds a common-sense check: if diamond pouches really were craftable from diamonds, their market price could not stay that high.
That said, this is his reading of the interface. The store page and the official notices never explain how diamond pouches are obtained. So the accurate statement is “the in-game text does not match what actually drops,” not “the developer confirmed they drop.”
Once a gold bar drops: decide what it is for
A gold bar is not only a market listing. First-hand footage shows two routes:
- Convert it straight into gold. If you are short on gold for progression, this is the more direct option.
- A diamond pouch can be opened into diamonds, or listed on the market as it is.
If you take the market route, do the arithmetic first. Listing an item costs one diamond, and diamonds regenerate naturally at one per four hours. That is a ticket cost — without a diamond, you cannot sell at all. You set the price yourself, but a listing cannot be withdrawn once it is up.
So when should you sell, and when should you keep it? One creator has run a side-by-side test and puts the switch around level 40–45 — a single source, so take it as a reference point rather than a rule. Check whether you are short on gold: if you are, convert; if you are not, look at the market price.
Pets and wings are ranked, not random
Both come from fixed places, and both settle on a timer.
- Pet eggs come from Raids. The reward table he read: everyone gets 1 egg at 100%, about 70% get 2, and above the top 100 it scales with rank. The first-place egg “looks better.”
- Wings come from the World Boss.
- Settlement happens the moment the countdown ends.
He lost out once because of this. He attacked the World Boss as soon as it opened. Later he realised he should have waited until the final hour, when his damage was higher, his rank better, and the reward better with it.
What to buy first with arena points
Arena pays points whether you win or lose. So the way to use it is to bank them and trade.
His order:
- Wings
- Pet eggs
- Runes
The reason is simple: all three give permanent owned effects. They count even when unequipped, and equipping them adds another stat block on top.
All four wings he opened were white, the lowest grade. He still ranks wings first, because the owned effect is stable.
Training panel: resistances first
His advice goes against “just stack attack”:
- Push resistances first: fire, poison, lightning.
- Critical resistance matters most. Bosses crit, and boss crits hurt.
- Cooldown reduction is worth it because it speeds up farming.
- Aim for S grade in the Training Ground. Locking stats raises the cost of every reroll, so do not lock carelessly.
One more thing people skip: socket every gem you get, whatever the tier. Low-tier gems still add power and stats. An empty socket is pure waste.
Does switching characters lose your gear?
This is the most-asked question in the comments. The creator answered it himself: no. Switching does not reset progress. Just equip weapons that character can use, then set the skills.
A viewer added a useful trick too: there is a button next to the map or difficulty setting. Switch it on until it turns yellow, and the character repeats only the current stage instead of advancing. If you want stable farming, find that button first.
Where to go next
Gear slots and the tier ladder are on the weapons and gear page. Comparing a single item is on gear priority and stat order. For the full archer path, see the Ranger build. Trading is covered in Steam Market trading.
Sources
- Video: https://www.youtube.com/watch?v=G_SbrdltEto (Once94, Spanish, uploaded 2026-09-12; transcript and comments checked 2026-09-16)
- Drop tiers, farm location, fuse advice, fragment tiers, arena order and training priority: all from the creator’s own commentary and demonstration, so they are personal measurements
- Official drop and combine formulas: not published on the Steam store page or in official notices as of 2026-09-16
- Map-lock button and “switching characters keeps your gear”: creator replies in the video comments, read 2026-09-16
The numbers and conclusions here are creator experience and single on-screen readings. No official formula exists for them, and a patch can change them.